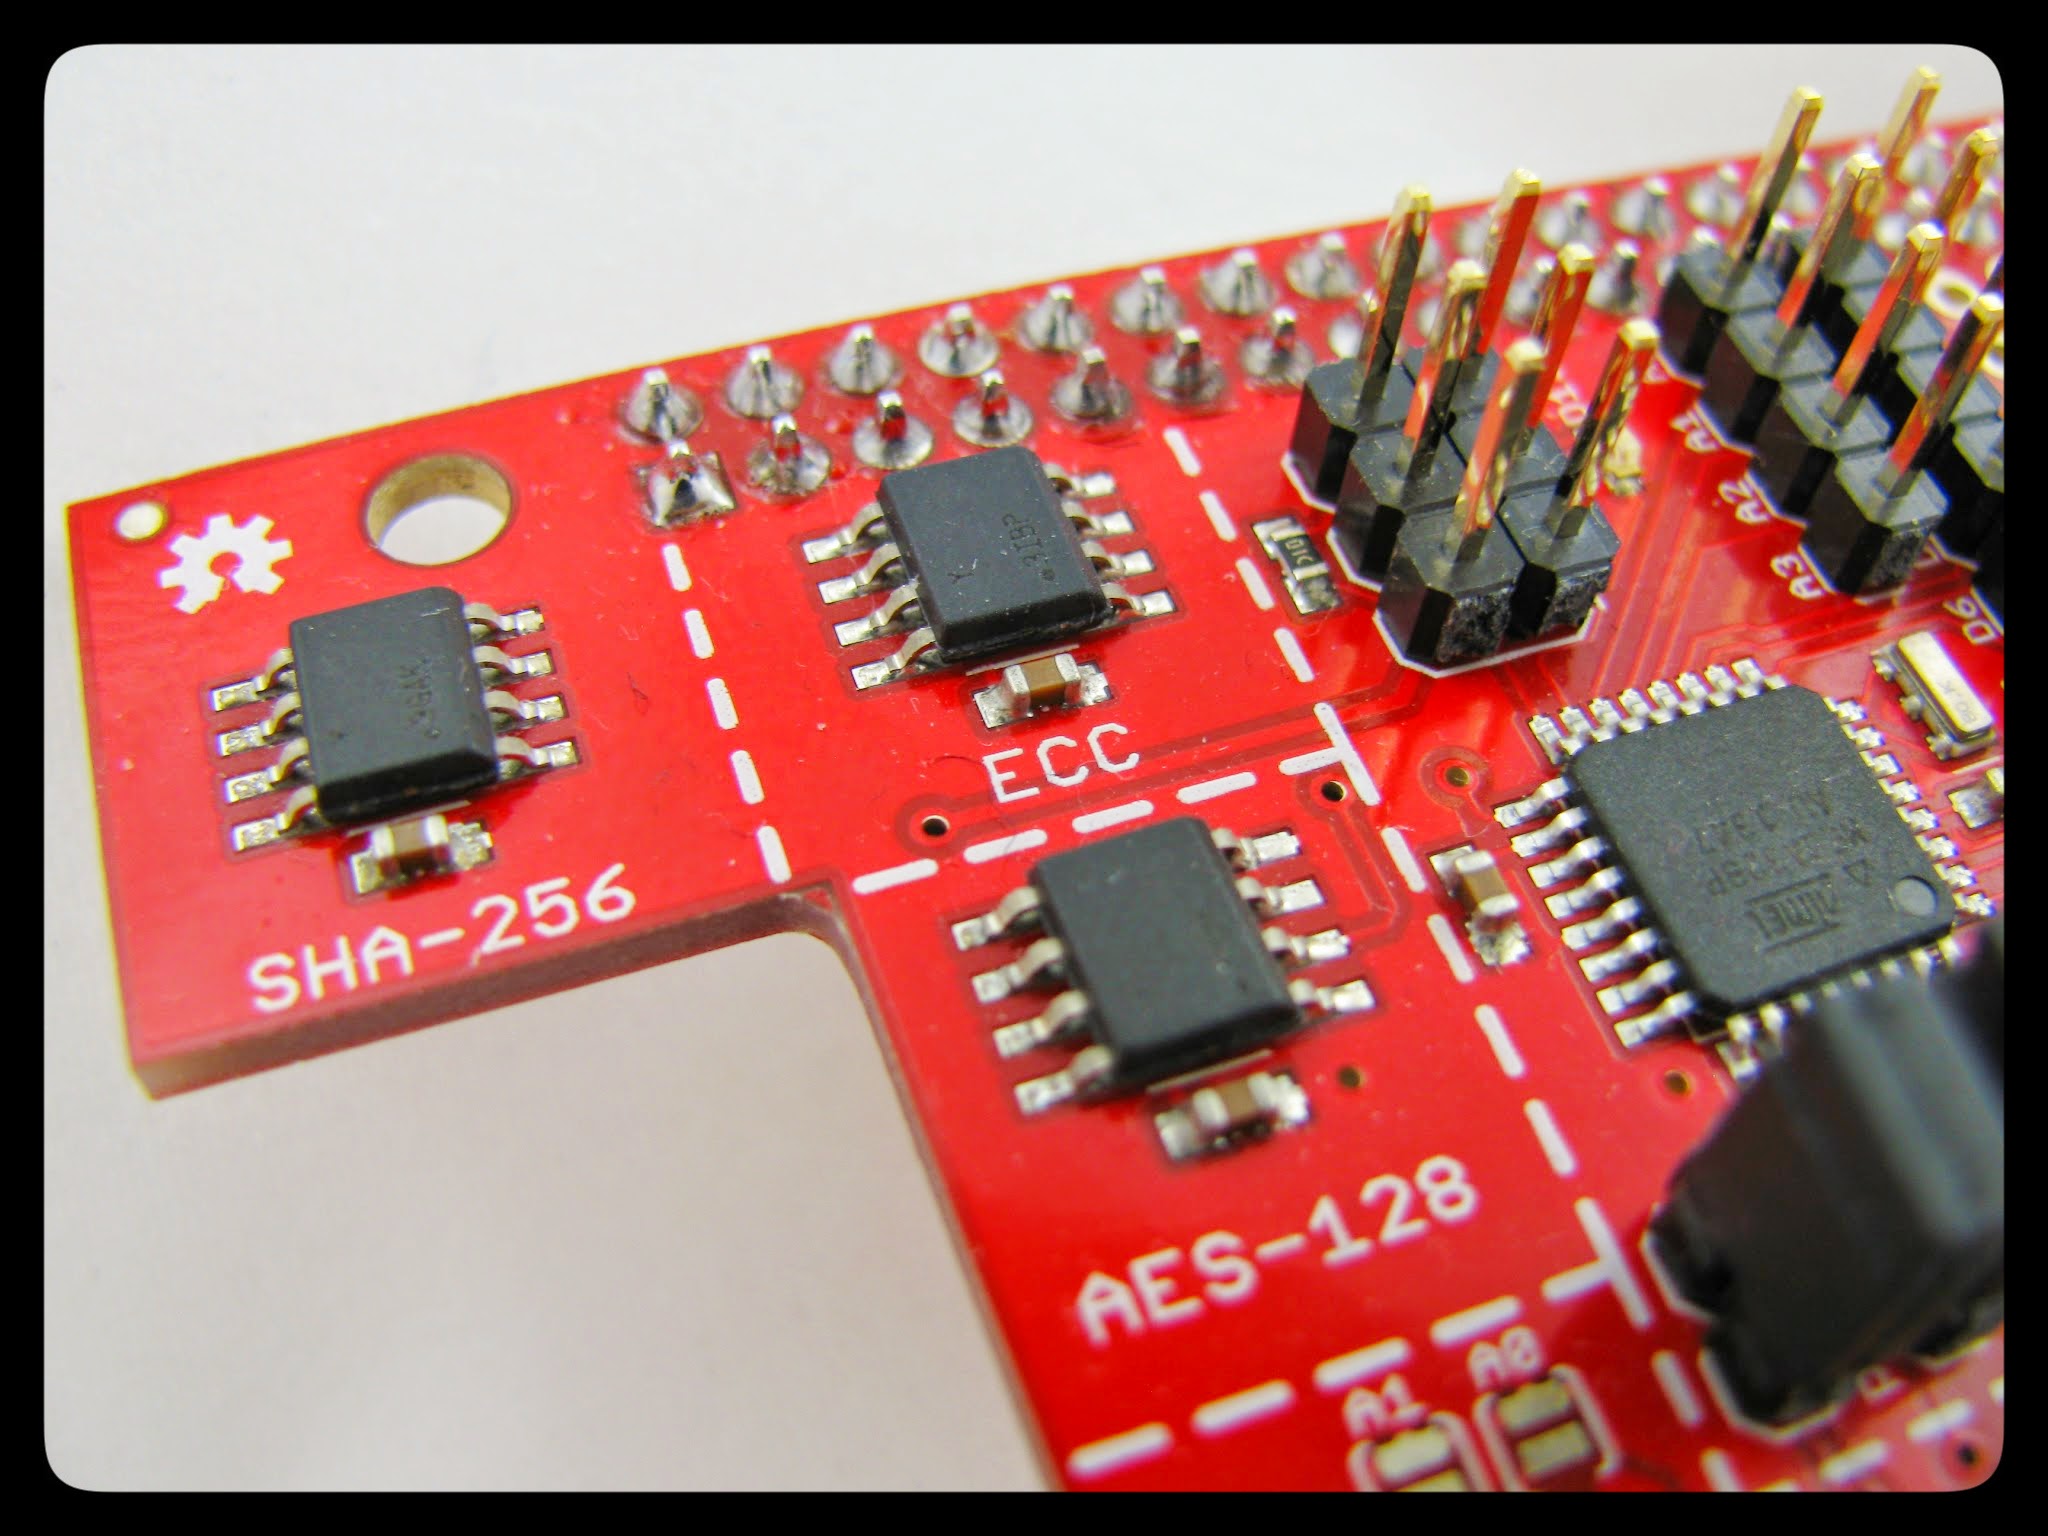
With the CryptoCape soon to release, I’ve been trying to finish the Linux driver for the ATECC108. The ATECC108 is an Atmel crypto chip that signs and verifies data using ECDSA signatures. By “driver” I mean a user-space command-line interface (CLI) application, like the one I previously completed for the ATSHA204.
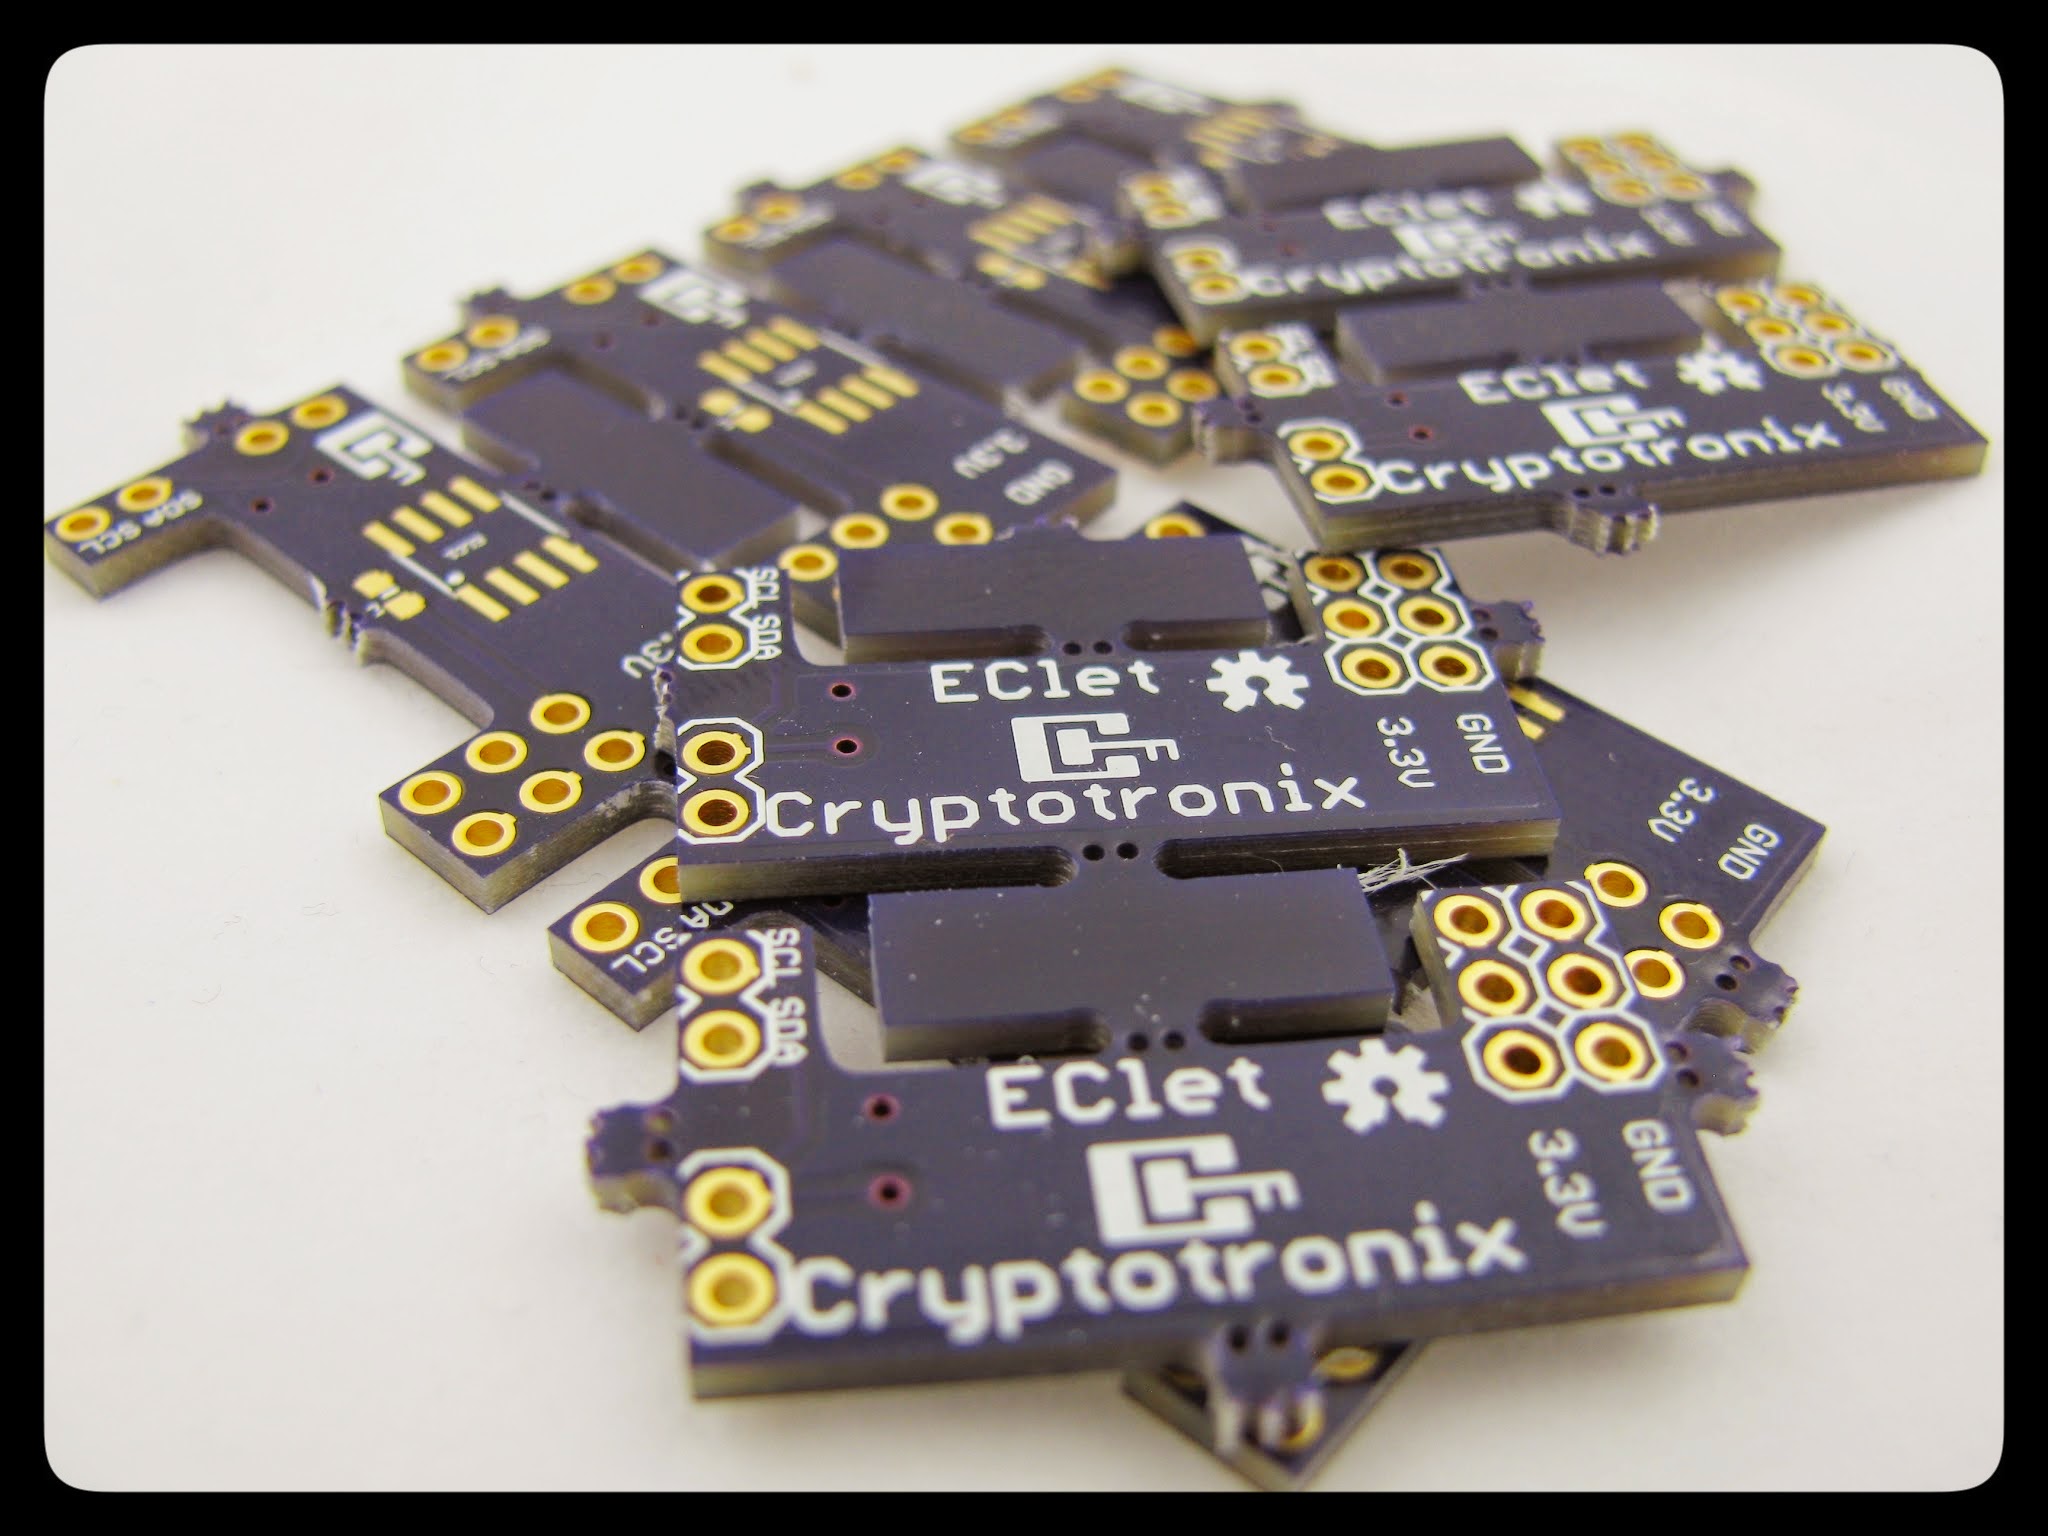
Atmel releases a very complete AVR based library for this chip, which doesn’t help too much under Linux. It took much longer than I expected, but I have a working snapshot of software, now on GitHub, which I’m calling EClet1. It’s not a release yet, so I’m considering it be in alpha, but it seems to work so far, with one exception discussed below. The purpose of this device is to produce and verify digital signatures.
In this post, I’ll walk you through an example work flow of the device. I’ll highlight what is working and where there are issues.
About the device
First of all, why would you want to use this chip on the BeagleBone? Let’s say your BeagleBone is acting as web server, using HTTPS. You could store your private key in software on the BeagleBone, but in the case of a software vulnerability, you could leak this private key. If the key is in hardware, it is much harder to leak.
I say harder and not impossible because well, security is nuanced. Part of my motivation for releasing this software and building the hardware is to allow security researchers an easier interface to these embedded devices. AFAIK, there is no way to extract the private key from the device.
Currently, my driver doesn’t integrate into TLS libraries like OpenSSL or GnuTLS. It’s in its infancy and it exposes the raw sign and verify operations, which are the building blocks for higher software abstractions like PKCS#11. I’m slowly building up from the bottom layers 🙂
Walkthrough
With the disclaimers out of the way, let’s walk through how to use the software. First of all, the software must be installed. There are two pieces, the eclet driver and the corresponding library: libcrypti2c.
Currently you need the full autotools suite plus some extra packages. On Debian, you would perform:
sudo apt-get install texinfo guile-1.8 guile-1.8-dev autoconf automake libtool libgcrypt11-dev
Clone the repository:
git clone https://github.com/cryptotronix/EClet.git
Then run the ./autogen.sh script. This will download and install libcrypti2c.
Personalize the device
Personalization sets up the configuration memory and writes software version information to the One Time Programmable Zone (OTP). You should first verify that the chip is in its factory state with the following command:
eclet state
This should return:
Factory
This command ensures that the ECC108 is uninitialized. Once you run the next command, personalize, it CAN’T be undone. This is by design. The software is in alpha and is subject to change. If something goes wrong or if a feature is added later on that is incompatible with your now personalized device, the only thing you can do is physically remove the chip and re-solder a new one.
You can always stop by the #cryptotronix channel on Freenode and ask me (jbdatko) about the status of the software and whether it will meet your needs at the moment.
The next step is to perform the personalization with:
eclet personalize
A successful personalization will silently complete. Unlike the hashlet driver, this does not load keys. That is performed in the next step.
Create ECC Private Keys
Private P-256 keys are generated inside the device and the chip is designed such that the keys can’t be exported. There is a mechanism to import keys, but I haven’t implemented that yet. There are 16 slots in the device, 0-15, and all but slot 8 are configured, via personalization, to store P-256 private keys. Create a new key pair with the command:
eclet gen-key
This will return the corresponding public key, which should be something like this:
04EED1CB629CF87F8BF6419986F990B92EA3DFA14CDAF70EB3E8DA8F9C9504DBC5B040D6480E88F895E9E1D4477970329B060450C80E1816EFED7B0FA49868CAEB
You don’t really have to remember this value, it can always be obtained with the get-pub command:
eclet get-pub
04EED1CB629CF87F8BF6419986F990B92EA3DFA14CDAF70EB3E8DA8F9C9504DBC5B040D6480E88F895E9E1D4477970329B060450C80E1816EFED7B0FA49868CAEB
If you want multiple keys, specify the slot with the -k parameter :
eclet gen-key -k 1
eclet get-pub -k 1
By the way, documentation is available by running the --help command as well. The default slot is slot 0, which is the same as specifying -k 0.
Signing data
The sign command requires some input, which can be specified via stdin or with a file -f:
eclet sign -f ChangeLog
3BAEB5705D8765B34B389F1768BAC783FCA786AB64A760D10DD133C86E5892A7A790E424C8E1540551C99FBE4F9F531B504A6004F08F3E0D4E42E96BBDE5C179
The signature is the raw 
If the command fails, it will look like this:
eclet sign -f ChangeLog
Sign Command failed.
Verifying Signatures
There are two ways to verify signatures. You can either use the hardware or perform the verification completely in software. For both, you must specify the signature, the public key, and the data (prior to hashing) like so:
eclet verify -f ChangeLog --signature C650D1A30194AD68F60F40C321FB084F6177BEDAC74D0F0C276ED35B00249AC8CF3E96FB7AB14AA48223FBA2E5DD9BCAE232BF963755C42F8FD9BD77FC145D41 --public-key 049B4A517704E16F3C99C6973E29F882EAF840DCD125C725C9552148A74349EB77BECB37AA2DB8056BAF0E236F6DCFEC2C5A9A0F23CEFD8A9DC1F4693718E725D2

eclet offline-verify-sign -f ChangeLog --signature C650D1A30194AD68F60F40C321FB084F6177BEDAC74D0F0C276ED35B00249AC8CF3E96FB7AB14AA48223FBA2E5DD9BCAE232BF963755C42F8FD9BD77FC145D41 --public-key 049B4A517704E16F3C99C6973E29F882EAF840DCD125C725C9552148A74349EB77BECB37AA2DB8056BAF0E236F6DCFEC2C5A9A0F23CEFD8A9DC1F4693718E725D2
offline-verify-sign is the one that uses software, specifically libgcrypt. Both versions silently complete on success.
Verbose output
If you append -v to any command you will get a lot of debug information. Let’s see the previous command:
./eclet offline-verify-sign -f ChangeLog --signature C650D1A30194AD68F60F40C321FB084F6177BEDAC74D0F0C276ED35B00249AC8CF3E96FB7AB14AA48223FBA2E5DD9BCAE232BF963755C42F8FD9BD77FC145D41 --public-key 049B4A517704E16F3C99C6973E29F882EAF840DCD125C725C9552148A74349EB77BECB37AA2DB8056BAF0E236F6DCFEC2C5A9A0F23CEFD8A9DC1F4693718E725D2 -v
Signature : 0xC6 0x50 0xD1 0xA3 0x01 0x94 0xAD 0x68 0xF6 0x0F 0x40 0xC3 0x21 0xFB 0x08 0x4F 0x61 0x77 0xBE 0xDA 0xC7 0x4D 0x0F 0x0C 0x27 0x6E 0xD3 0x5B 0x00 0x24 0x9A 0xC8 0xCF 0x3E 0x96 0xFB 0x7A 0xB1 0x4A 0xA4 0x82 0x23 0xFB 0xA2 0xE5 0xDD 0x9B 0xCA 0xE2 0x32 0xBF 0x96 0x37 0x55 0xC4 0x2F 0x8F 0xD9 0xBD 0x77 0xFC 0x14 0x5D 0x41
Public Key : 0x04 0x9B 0x4A 0x51 0x77 0x04 0xE1 0x6F 0x3C 0x99 0xC6 0x97 0x3E 0x29 0xF8 0x82 0xEA 0xF8 0x40 0xDC 0xD1 0x25 0xC7 0x25 0xC9 0x55 0x21 0x48 0xA7 0x43 0x49 0xEB 0x77 0xBE 0xCB 0x37 0xAA 0x2D 0xB8 0x05 0x6B 0xAF 0x0E 0x23 0x6F 0x6D 0xCF 0xEC 0x2C 0x5A 0x9A 0x0F 0x23 0xCE 0xFD 0x8A 0x9D 0xC1 0xF4 0x69 0x37 0x18 0xE7 0x25 0xD2
SHA256 file digest : 0xEE 0xA5 0xD7 0x1A 0x4A 0x4B 0x17 0x6A 0xBB 0x1F 0x08 0xB5 0x24 0x7C 0xE0 0x73 0x04 0x20 0xF8 0xEA 0x96 0xC1 0xB8 0xC1 0x6A 0xF8 0x44 0x1A 0x6C 0x6A 0x6E 0xF1
Gcrypt init
(public-key
 (ecdsa
  (curve "NIST P-256")
  (q #049B4A517704E16F3C99C6973E29F882EAF840DCD125C725C9552148A74349EB77BECB37AA2DB8056BAF0E236F6DCFEC2C5A9A0F23CEFD8A9DC1F4693718E725D2#)
  )
 )

(data
 (flags raw)
 (value #EEA5D71A4A4B176ABB1F08B5247CE0730420F8EA96C1B8C16AF8441A6C6A6EF1#)
 )

(sig-val
 (ecdsa
  (r #C650D1A30194AD68F60F40C321FB084F6177BEDAC74D0F0C276ED35B00249AC8#)
  (s #CF3E96FB7AB14AA48223FBA2E5DD9BCAE232BF963755C42F8FD9BD77FC145D41#)
  )
 )

DBG: pubkey_verify: algo=301
  pkey: FFFFFFFF00000001000000000000000000000000FFFFFFFFFFFFFFFFFFFFFFFF
  pkey: FFFFFFFF00000001000000000000000000000000FFFFFFFFFFFFFFFFFFFFFFFC
  pkey: 5AC635D8AA3A93E7B3EBBD55769886BC651D06B0CC53B0F63BCE3C3E27D2604B
  pkey: 46B17D1F2E12C4247F8BCE6E563A440F277037D812DEB33A0F4A13945D898C2964FE342E2FE1A7F9B8EE7EB4A7C0F9E162BCE33576B315ECECBB6406837BF51F5
  pkey: FFFFFFFF00000000FFFFFFFFFFFFFFFFBCE6FAADA7179E84F3B9CAC2FC632551
  pkey: 49B4A517704E16F3C99C6973E29F882EAF840DCD125C725C9552148A74349EB77BECB37AA2DB8056BAF0E236F6DCFEC2C5A9A0F23CEFD8A9DC1F4693718E725D2
   sig: C650D1A30194AD68F60F40C321FB084F6177BEDAC74D0F0C276ED35B00249AC8
   sig: CF3E96FB7AB14AA48223FBA2E5DD9BCAE232BF963755C42F8FD9BD77FC145D41
  hash: EEA5D71A4A4B176ABB1F08B5247CE0730420F8EA96C1B8C16AF8441A6C6A6EF1
DBG: ecc verify: Accepted
verify complete
gcry_pk_verify success
Verify Success
Summary
That should get you started with the eclet software and the ATECC108.
- EClet: Elliptical Curve-let, like small elliptical curves? Naming is not my strong point. ↩


One thought on “The beginnings of the ATECC108 ECDSA Linux driver”
Comments are closed.